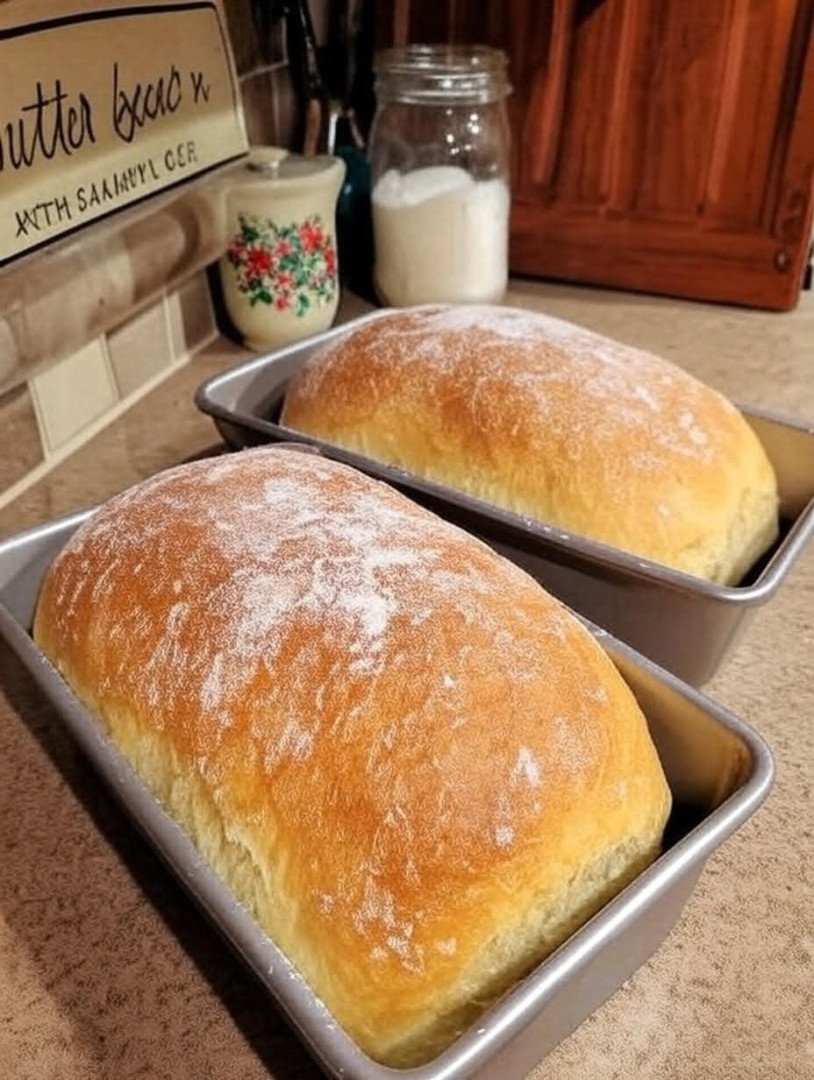
The No-Knead Bread recipe is a true game-changer. Made famous by Jim Lahey, it uses time and a very wet dough to create an incredible, artisan-style loaf with a crackling crust and an open, holey crumb, all with almost no hands-on effort.
Here is the classic, foolproof recipe.
Simple No-Knead Bread
This recipe requires just 4 ingredients and a lot of patience. The result is a loaf that looks and tastes like it came from a professional bakery.
Yields: One 1.5 lb loaf
Prep time: 5 minutes of active work
Rise time: 12-18 hours (first rise) + 2 hours (second rise)
Bake time: 45 minutes
Ingredients
-
3 cups (360g) all-purpose flour or bread flour (bread flour gives a chewier crust)
-
1 ½ teaspoons (7g) kosher salt or sea salt
-
½ teaspoon (2g) instant or active dry yeast
-
1 ½ cups (350g) lukewarm water
Equipment:
-
A large mixing bowl
-
Plastic wrap or a damp kitchen towel
-
A Dutch oven with a lid (or any heavy, oven-safe pot with a lid)
Instructions
Step 1: Mix the Dough (Day 1 – 5 minutes)
-
In a large bowl, whisk together the flour, salt, and yeast.
-
Pour in the lukewarm water.
-
Use a wooden spoon or your hands to mix until you have a shaggy, sticky dough ball. There should be no dry spots of flour. The dough will be very wet and messy—this is correct!
-
Cover the bowl tightly with plastic wrap or a damp kitchen towel.
Step 2: The Long, Slow Rise (12-18 hours)
-
Let the dough sit at room temperature (ideally around 70°F/21°C) for 12 to 18 hours. The dough is ready when its surface is dotted with bubbles and it has more than doubled in size.
Step 3: Shape the Loaf (Day 2 – 5 minutes)
-
Generously flour a work surface and your hands. The dough will be very loose and sticky.
-
Gently scrape the dough out onto the floured surface. With floured hands, gently fold the dough over itself a few times—north, south, east, west—to form a rough ball.
-
Place a sheet of parchment paper on a plate or a small baking sheet (this will be your “sling” to lower the dough into the hot pot). Place the dough seam-side down on the parchment paper.
-
Cover the dough loosely with the plastic wrap or towel and let it rest for another 2 hours.
Step 4: Preheat and Bake
-
About 30 minutes before the second rise is finished, place your empty Dutch oven, with its lid on, into your oven. Preheat the oven to 450°F (230°C).
-
When the dough is ready, carefully remove the very hot Dutch oven from the oven. Take off the lid.
-
Using the parchment paper as a sling, carefully lower the dough into the hot pot.
-
Put the lid back on and place the entire pot back into the oven.
-
Bake with the lid on for 30 minutes.
-
Remove the lid and bake for another 15-20 minutes, until the crust is deeply golden brown and the loaf sounds hollow when tapped.
Step 5: Cool Completely
-
Carefully remove the bread from the pot and transfer it to a wire rack. It is crucial to let it cool completely (for at least 1 hour) before slicing. The inside is still cooking from residual heat!
✨ Why This Method Works & Pro-Tips
-
The Magic of Time: The long fermentation develops incredible flavor and creates the signature open, airy crumb without any kneading.
-
The Dutch Oven: The preheated pot creates a steamy environment for the first half of baking, which is essential for achieving a crispy, crackly crust.
-
No Dutch Oven? No problem. Use any heavy, oven-safe pot with a tight-fitting lid. A cast-iron combo cooker works perfectly. You can also use a baking sheet, but spritz the loaf with water a few times during the first 10 minutes of baking to create steam.
-
Customize It: Add 1 cup of chopped olives, nuts, seeds, or dried herbs when you first mix the dough.
-
For a More Sour Flavor: Let the initial rise go for the full 18 hours, or even up to 24 hours for a more pronounced sourdough-like tang.
-
Storage: Store the cooled bread in a paper bag at room temperature for 2-3 days. For longer storage, slice and freeze it.
Enjoy the magic of baking your own incredible, artisan-style bread with almost no effort

I can smell it already.